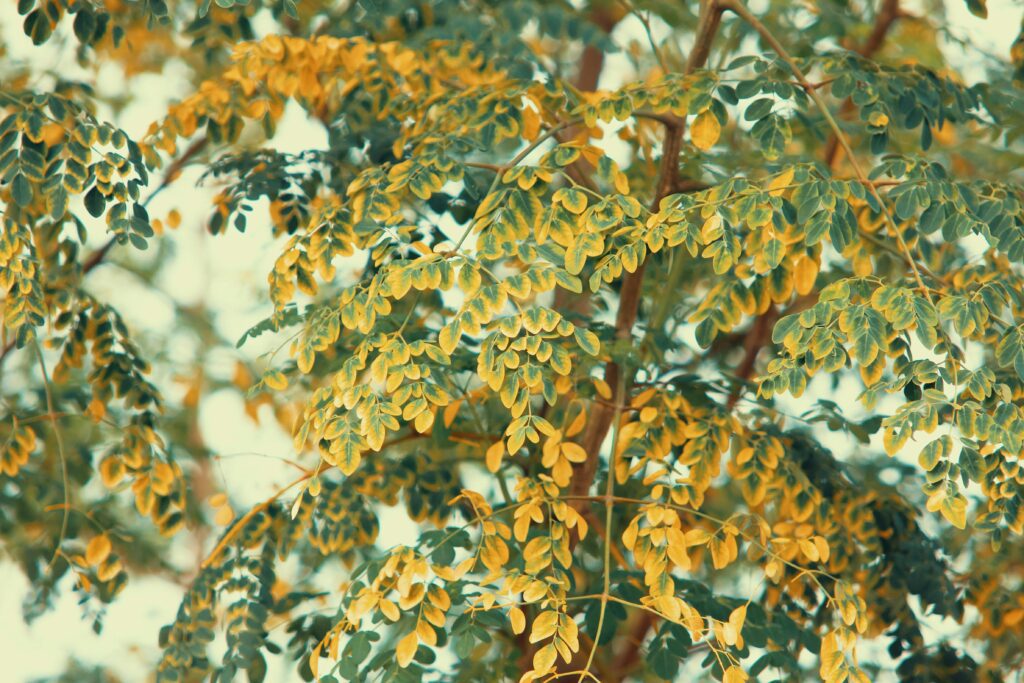
If you think you need a big backyard to grow your own superfood tree, think again. Moringa, often called the “Miracle Tree,” can easily thrive in pots and tight spaces with the right care. Whether you live in an apartment with a balcony or just have a small patio, you can grow fresh Moringa at home.
In this guide, you’ll learn everything you need to successfully grow Moringa in containers—from picking the right pot to harvesting lush green leaves. This isn’t just theory; I’ve done it myself, and I’ll walk you through the process step by step.
Why Grow Moringa in Pots?
Moringa is traditionally grown in open fields, but growing it in pots is a smart, space-efficient option for home gardeners — especially beginners or those living in apartments, cities, or homes with limited outdoor space.
Here’s why it’s a great idea:
1. Space-Friendly
You don’t need a farm or even a backyard. A sunny balcony, rooftop, or patio is enough. Moringa can thrive in 10–20 inch containers with proper care.
2. Mobility
Potted plants can be moved. This helps protect your moringa from heavy rains, strong winds, or frost. I personally had to move mine indoors during a cold spell, and it bounced back within a week.
3. Soil Control
In pots, you control the quality of the soil. If your garden soil is clay-heavy or not fertile, containers allow you to create the perfect mix. This made a huge difference for me—I saw faster sprouting and healthier leaves when I switched to potting mix with compost and sand.
4. Pest and Weed Management
Potted plants are easier to monitor for pests and weeds. I found it much simpler to spot aphids early on and treat them quickly.
5. Harvest Within Arm’s Reach
You’ll have fresh moringa leaves at your fingertips. Whether for smoothies, curries, or drying into powder, it’s a joy to snip what you need right from your pot.
6. Great for Urban Gardening
If you’re part of the growing urban gardener movement, moringa is a top choice. It’s low-maintenance and high-yielding — perfect for sustainable living even in the city.
7. Educational and Empowering
Growing moringa in pots teaches patience, consistency, and the joy of nurturing life. Whether you’re gardening with your kids or starting your first solo plant project, it’s incredibly rewarding.
8. Year-Round Green Nutrition
With proper care, you can keep your moringa growing throughout the year, especially in tropical or warm climates. I’ve had plants give fresh leaves even during dry seasons when most leafy greens fade.
Growing moringa in pots is more than just a gardening trend — it’s a practical, empowering way to take control of your food, your space, and your health.
Moringa is packed with nutrients: it contains high levels of Vitamin C, calcium, iron, and antioxidants. Growing it at home ensures you get fresh, pesticide-free leaves whenever you need.
Container gardening also gives you full control over soil quality, drainage, and sunlight. Plus, you can move the plant around as needed—especially helpful if you live in a place with extreme weather.
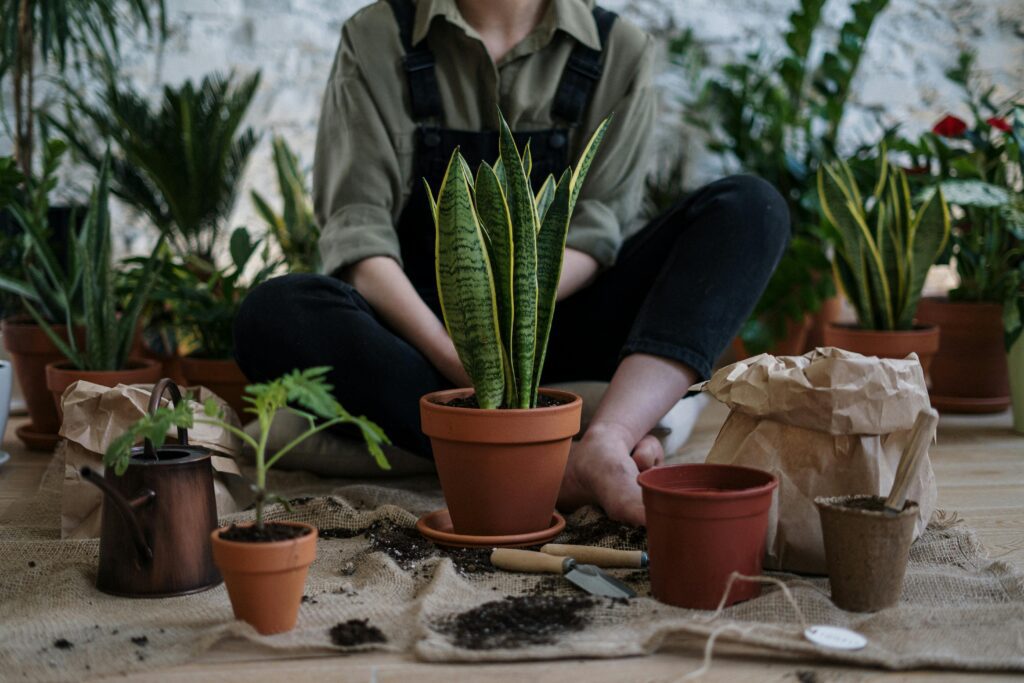
Step 1: Choosing the Right Pot and Location
Start by selecting a pot that’s deep and wide enough to accommodate moringa’s fast-growing taproot. Ideally, the pot should be at least 12–18 inches in both depth and width. If you go smaller, the plant may become root-bound and won’t reach its full potential. I’ve personally found success using grow bags made from breathable fabric as they offer excellent aeration and drainage. Clay pots are also a solid choice due to their porous nature, which helps keep the soil from becoming waterlogged.
When it comes to placement, sunlight is key. Moringa thrives in direct sunlight, needing at least 6–8 hours of full sun per day to grow strong and produce lush, edible leaves. If you’re growing on a balcony or rooftop, choose the sunniest spot you have. In apartments, a south-facing balcony or terrace will usually provide the most consistent light.
If you only get partial sunlight or face obstacles like high walls or shade from nearby buildings, consider rotating your pot every 2–3 days to ensure the plant grows evenly on all sides. In cooler climates or during winter months, you might need to bring the pot indoors and place it near a bright window or under grow lights to maintain healthy development.
Drainage is just as important as sunlight. Make sure your pot has multiple drainage holes at the bottom. You can also place small stones or broken terracotta pieces at the bottom before adding soil to prevent clogging. I once made the mistake of skipping this step and ended up with root rot – a lesson I won’t forget!
Lastly, think about air circulation. Good airflow helps prevent mold and pests. Don’t crowd your moringa pot too close to other plants. Leave enough space around it to allow light and air to reach every part of the plant.
Choosing the right pot and location isn’t just the first step — it lays the foundation for everything that follows. Take your time with this decision and your moringa plant will thank you with vibrant growth and fresh, nutritious leaves all season long.
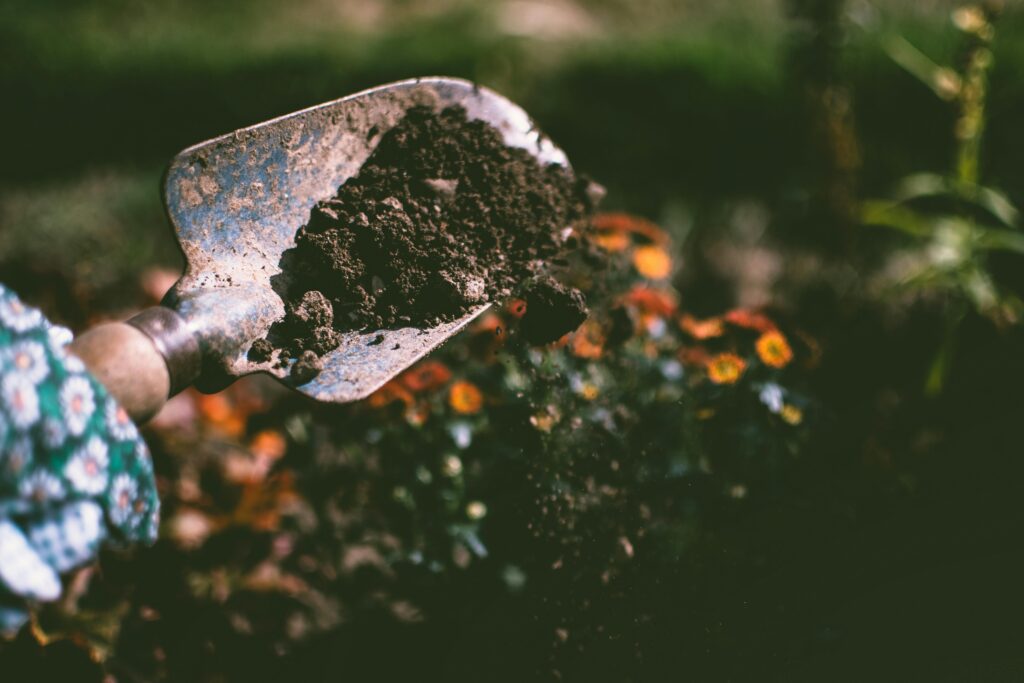
Step 2: Preparing the Ideal Soil Mix
Creating the perfect soil mix is one of the most important steps when growing moringa in containers. Because moringa grows quickly and has a deep taproot, the soil must be well-draining, loose, and rich in nutrients. In compact or poor-quality soil, the plant will struggle, become stunted, or suffer from root rot.
Start with a base of high-quality potting mix. Avoid using garden soil alone, as it tends to compact over time and may harbor pests or diseases. A well-balanced potting mix should feel light in your hands and drain quickly when watered.
Next, mix in organic compost — about 30% of your total mix. Compost improves nutrient availability and helps retain moisture without waterlogging the roots. I usually add homemade compost made from kitchen scraps, dried leaves, and grass clippings. It’s budget-friendly and effective.
To further improve drainage and soil texture, incorporate sand or perlite into the mix (about 10–20%). This is especially important if you live in a humid climate where soil can stay wet for too long. I learned this the hard way after my first pot of moringa turned yellow and wilted — all due to soggy soil.
You can also add a handful of aged cow manure or vermicompost to boost fertility. These additions provide essential micronutrients and encourage root development. Just make sure the manure is well-aged to avoid burning the roots.
To raise the soil’s pH slightly — which moringa prefers — consider adding a small amount of wood ash or crushed eggshells. I’ve found that moringa plants do better in slightly alkaline soil compared to acidic blends.
Mix everything thoroughly before filling your pot. After adding the soil mix, water it lightly and let it sit for a day before planting. This gives time for the components to settle and ensures the moisture spreads evenly.
Preparing the soil properly gives your moringa the best possible foundation. It’s like setting the stage for a healthy, thriving plant that can produce tender leaves and pods for months to come. Don’t rush this part — your future harvest depends on it. pests naturally.
Step 3: Starting from Seeds or Saplings
You can grow moringa either by starting from seeds or using saplings purchased from a nursery. Both methods have their pros and cons, but I usually prefer seeds because they adapt more naturally to their growing environment and establish a deeper root system.
Starting from Seeds
- Select quality seeds: Use fresh, healthy moringa seeds for the best germination rate. You can get them from trusted nurseries or harvest them from a mature moringa tree.
- Soak the seeds: Before planting, soak the seeds in lukewarm water overnight. This softens the seed coat and speeds up germination.
- Planting: Sow each seed about 1 inch deep into the soil mix. If you’re planting multiple seeds in the same container (for later thinning), leave at least 3–4 inches between them.
- Watering: Keep the soil moist but not soggy. Moringa doesn’t like waterlogged roots, so avoid overwatering. I usually mist the topsoil daily until germination, which usually happens within 7–14 days.
- Sunlight and warmth: Place the pot in a warm, sunny spot. Seeds germinate best at temperatures between 25°C–35°C (77°F–95°F).
- Thinning: Once seedlings are 4–6 inches tall, thin them out and keep the strongest one if you planted several in the same pot.
Starting from Saplings
If you opt for saplings, choose healthy ones with firm stems and vibrant green leaves. Avoid any with yellowing or signs of disease. Dig a hole in the prepared potting soil big enough to fit the root ball. Plant it at the same depth it was in its nursery container and press the soil gently around it.
Water lightly after planting and keep it in partial sunlight for the first couple of days to help it acclimate. Afterward, move it to full sun.
Whether you choose seeds or saplings, give your moringa plant a bit of attention early on, and it will reward you with strong growth and healthy yields in just a few weeks.
Germination usually takes 7–10 days. Place a plastic cover loosely over the pot if the weather is too cold.
Step 4: Watering and Care Routine
Moringa is a tough plant, but even the hardiest growers need the right care to flourish. One of the most common mistakes new growers make is overwatering. Unlike other leafy greens, moringa doesn’t like wet feet — its roots can rot quickly in soggy conditions.
Here’s how I’ve perfected the watering routine over the years:
- Check before you water: Stick your finger or a wooden skewer about 2 inches into the soil. If it feels dry at that depth, it’s time to water. If not, wait another day.
- Water deeply but less frequently: I water my moringa every 3–4 days during hot summer months. When I do, I make sure to water deeply until it starts to drain from the bottom.
- Adapt with the seasons: During rainy seasons or if the pot is indoors and away from sunlight, cut back on watering. Less evaporation means the soil stays moist longer.
- Avoid splash on leaves: Try watering directly at the base. Constantly wet leaves can attract fungal issues like powdery mildew, especially in humid climates.
Besides watering, here are a few more care tips:
- Mulch the surface: Adding a thin layer of dry leaves or straw helps retain moisture and keeps the soil temperature stable.
- Watch for pests: Moringa is fairly pest-resistant, but aphids or mites may appear occasionally. I spray a diluted neem oil solution once every two weeks as a preventative measure.
- Support young plants: As moringa grows fast and tall, young plants may bend or lean. Stake them gently using bamboo sticks or garden ties.
With just a little consistency and observation, your moringa plant will thrive, and in return, you’ll enjoy a steady supply of its powerhouse greens.owth and more leaf production.
Step 5: Fertilizing for Healthy Growth
Moringa is a fast-growing plant, which means it needs regular nourishment to maintain its rapid pace. However, you don’t need expensive or chemical fertilizers — in fact, if you plan to consume the leaves, natural and organic feeding methods are always the safest and healthiest option.
Here’s what I do to keep my moringa happy and healthy:
- Every 15–20 days, I feed the plant with a handful of vermicompost. It’s rich in essential nutrients like nitrogen, phosphorus, and potassium and helps improve soil structure and microbial life.
- Once a month, I add liquid compost tea or diluted cow dung water (1 part dung to 5 parts water). I pour it gently around the base of the plant to avoid leaf burn.
- Banana peel compost is another great addition every few weeks. I simply chop up peels and bury them near the edges of the pot — they release potassium slowly as they decompose.
- Wood ash from natural, untreated firewood can be sprinkled lightly every 4–6 weeks to boost potassium and raise soil pH.
- Avoid chemical fertilizers, especially nitrogen-heavy ones. They may lead to lush leaf growth but at the expense of flavor, nutrition, and overall plant health.
- Observe the plant for signs of deficiency — pale or yellow leaves may signal a lack of nutrients. If this happens, increase the frequency of compost or liquid feed.
- Always feed after watering, never on dry soil, to avoid root shock or nutrient burn.
By following this organic, low-cost fertilizing routine, you’ll help your moringa develop strong roots, vibrant leaves, and better resistance to pests and diseases. Remember, consistency is more important than quantity — and your plant will reward you with abundant greenery for months to come.tural options are not only safer but also keep the soil alive.
Step 6: Pruning and Maintenance
Once your plant hits 2–3 feet, start pruning regularly. This helps the plant stay compact and productive.
My routine:
- Trim top shoots every month to promote branching
- Remove yellowing or dead leaves
- Cut back hard after 6–8 months to refresh growth
Pruning might feel aggressive, but it actually boosts leaf yield. Think of it like giving the plant a reset.
Step 7: Harvesting Moringa Leaves
Leaves can be harvested once the plant is at least 2 feet tall and has multiple branches.
How I harvest:
- Use clean scissors or hands to pluck mature leaves
- Avoid cutting the main stem
- Harvest in the morning for best taste and nutrition
You can harvest every 10–15 days if your plant is healthy.
Real-World Example: Balcony Grower in Islamabad
Fatima, a university student in Islamabad, started growing Moringa in a 15-inch clay pot on her small apartment balcony. With limited space and a tight budget, she followed a basic soil mix recipe and soaked her seeds overnight before planting.
Within two months, her Moringa plant had reached 2 feet. She harvested leaves for smoothies and even dried some for tea. Her success inspired three of her neighbors to grow their own too.
Real-World Example: Retired Couple in California
John and Linda, a retired couple from California, began container gardening as a hobby. Their biggest concern was the colder winters.
They grew Moringa in 20-gallon grow bags and placed them on the sunny side of their patio. During winter, they moved the pots inside near a glass window and used grow lights. The plants stayed healthy all year, and they regularly enjoyed Moringa powder in their morning drinks.
Common Mistakes to Avoid
- Using small or shallow pots — Moringa needs space to grow roots.
- Overwatering — Leads to fungal disease and yellowing.
- Too much shade — Moringa loves full sun.
- Skipping pruning — Results in tall, lanky plants with fewer leaves.
- No drainage holes in pots — Always ensure excess water can escape.
Final Thoughts
Growing Moringa in pots is not just possible—it’s practical and incredibly rewarding. Even with limited space, you can enjoy a steady supply of fresh, organic leaves packed with nutrients.
Whether you’re a student, a homemaker, or someone simply looking for a healthy lifestyle change, Moringa can be your green companion right outside your window.
So grab a pot, get your hands a little dirty, and let nature surprise you!