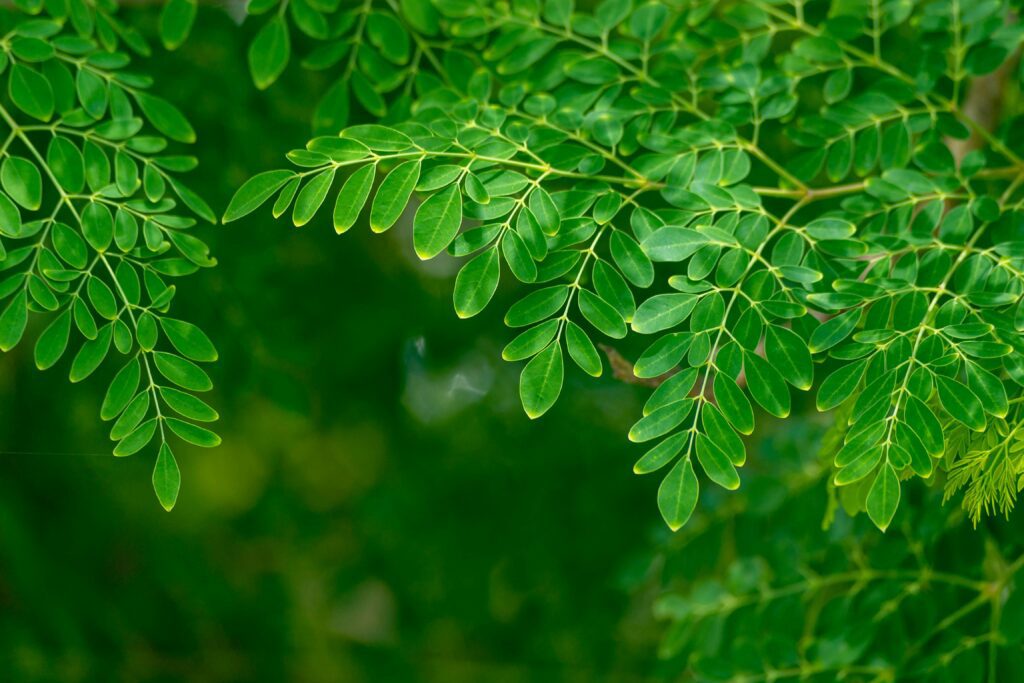
If you’ve been looking for an easy, rewarding plant to grow at home, Moringa—also known as the drumstick tree or “miracle tree”—is a great choice. Packed with nutrients and known for its rapid growth, Moringa is perfect for beginners who want to grow something useful and fast-growing right in their backyard or even in containers. In this expert guide, you’ll learn exactly how to grow Moringa from seeds at home with clear, actionable steps.
Why Grow Moringa at Home?
Growing Moringa isn’t just about having a new plant in your garden—it’s about investing in a natural powerhouse. The leaves are rich in vitamins A, C, and E, calcium, potassium, and protein. They can be dried for tea, added to smoothies, or cooked like spinach. Once you’ve tasted fresh homegrown Moringa, you’ll never want store-bought again.
What You’ll Need
Before we jump into planting, gather these basic items:
- Moringa seeds (fresh and untreated)
- A pot or patch of sunny garden soil
- Organic compost or well-rotted manure
- A watering can or gentle hose
- Light, well-draining soil (sandy or loamy is ideal)
Moringa loves the sun. Choose a location that gets at least 6–8 hours of sunlight daily. Whether you plant in a pot or directly in the ground, make sure the spot is warm and protected from strong winds during its early stages.
Ideally, select a south-facing area if you’re in the northern hemisphere, as it will receive maximum sunlight throughout the day. If you live in a cooler climate, consider growing Moringa indoors near a large sunny window or under grow lights during the colder months.
Avoid low-lying spots where water tends to collect after rainfall. Moringa does not tolerate waterlogged conditions, especially in its early stages. If planting directly into the ground, a slightly raised bed can be beneficial.
For urban dwellers with limited space, rooftops and balconies can work very well—as long as the plants get sufficient sunlight and aren’t exposed to extreme wind. Use barriers or lightweight netting to shield young plants if necessary.
Personal Note: In my own garden, I placed my first Moringa plant near a south-facing wall which retained heat. This not only helped speed up growth during cooler evenings but also gave the young seedling some wind protection. That single choice made a visible difference in how fast it established.
Step 1: Choosing the Right Location
Moringa loves the sun. Choose a location that gets at least 6–8 hours of sunlight daily. Whether you plant in a pot or directly in the ground, make sure the spot is warm and protected from strong winds during its early stages.
Ideally, select a south-facing area if you’re in the northern hemisphere, as it will receive maximum sunlight throughout the day. If you live in a cooler climate, consider growing Moringa indoors near a large sunny window or under grow lights during the colder months.
Avoid low-lying spots where water tends to collect after rainfall. Moringa does not tolerate waterlogged conditions, especially in its early stages. If planting directly into the ground, a slightly raised bed can be beneficial.
For urban dwellers with limited space, rooftops and balconies can work very well—as long as the plants get sufficient sunlight and aren’t exposed to extreme wind. Use barriers or lightweight netting to shield young plants if necessary.
Personal Note: In my own garden, I placed my first Moringa plant near a south-facing wall which retained heat. This not only helped speed up growth during cooler evenings but also gave the young seedling some wind protection. That single choice made a visible difference in how fast it established.
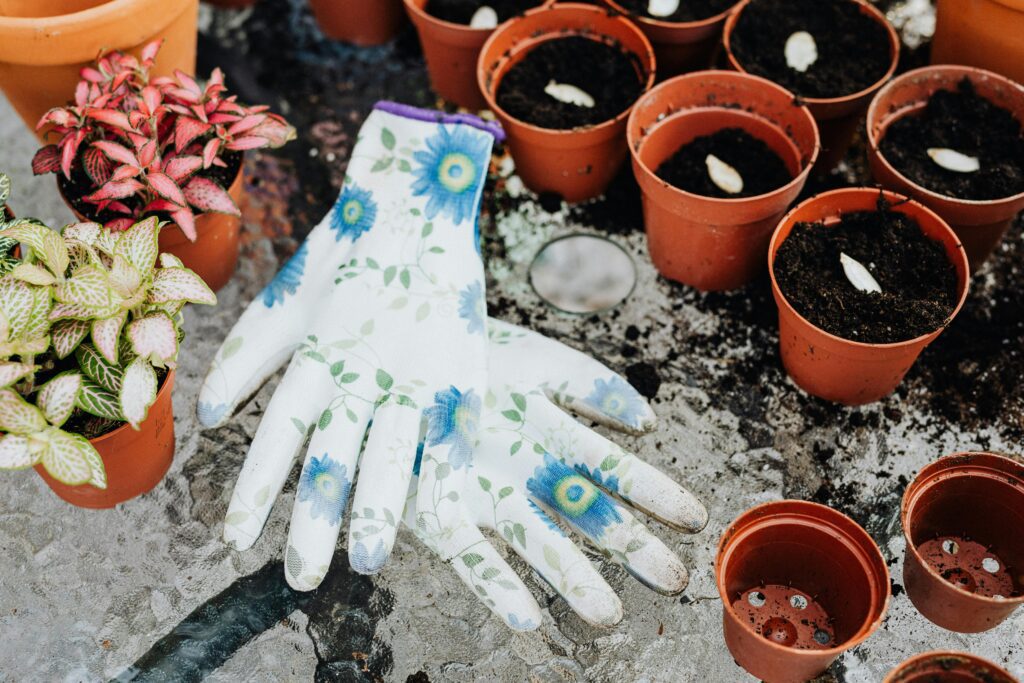
Step 2: Preparing the Soil
Moringa isn’t fussy, but it thrives in soil that drains well. Its roots are prone to rotting if kept in wet, poorly draining soil for too long, especially during the early stages. The ideal soil texture is light, loose, and nutrient-rich. Mix in organic compost or well-rotted manure to improve both the texture and fertility of your growing medium.
Start by digging the soil to a depth of 12–18 inches and loosening it up. This helps roots spread easily and encourages healthy development. Add a mixture of compost and sand to enhance aeration and drainage. Avoid using clay-heavy soil as it tends to compact and retain too much moisture, which is not ideal for Moringa.
If you’re growing in containers, select a large pot—at least 12 inches deep—and make sure it has plenty of drainage holes. Fill it with a soil mix of 1 part garden soil, 1 part river sand or perlite, and 1 part compost or vermicompost. This mix ensures good drainage, supports root health, and provides essential nutrients without becoming waterlogged.
Personal Tip: I’ve had the best results when I mixed equal parts garden soil, sand, and compost. The drainage made a noticeable difference in seed germination. Once, I tried using standard potting soil, and it held too much moisture—leading to seed rot. Since switching to the looser mix, I’ve had near 100% germination success.
Before planting your seeds, lightly water the soil so it’s damp but not wet. This will help create a welcoming environment for the seed to absorb moisture and trigger germination.
Taking the time to prepare your soil properly might seem like an extra step, but it truly sets the foundation for a strong, healthy Moringa plant that can withstand harsh sun, wind, and irregular watering.
Personal Tip: I’ve had the best results when I mixed equal parts garden soil, sand, and compost. The drainage made a noticeable difference in seed germination.

Step 3: Soaking the Seeds (Optional but Recommended)
Soaking Moringa seeds before planting is a step many beginners skip, but it can significantly increase your chances of faster and more even germination. By soaking the seeds, you help soften the hard outer coating, which allows moisture to reach the embryo more quickly. This mimics the natural conditions that would trigger the seed to sprout during the rainy season in the wild.
Here’s how to do it:
- Place your Moringa seeds in a clean bowl.
- Add lukewarm water—just enough to fully submerge them.
- Leave the seeds to soak for 24 hours at room temperature.
- After soaking, remove them from the water and place them on a clean towel or paper towel for a few hours to dry slightly before planting.
You may notice that some seeds swell or crack slightly during the soak—that’s a good sign. It means the seed is absorbing water and preparing to germinate. If some seeds float, don’t discard them right away. Let them dry and plant them anyway; they might still sprout.
Personal Experience: I’ve done side-by-side tests with soaked vs. unsoaked Moringa seeds. The soaked ones almost always sprout faster—often by 2–3 days—and have a better germination rate overall. For me, it’s become a must-do step, especially in cooler or unpredictable weather.
Also, if you’re planting during a dry season or indoors with low humidity, soaking the seeds can help compensate for the lack of natural moisture in the environment. Just don’t leave them soaking for more than 24 hours or they may start to rot or become too soft to plant.
Taking this small step adds just one day to your timeline but can save you from poor germination or frustration later on.
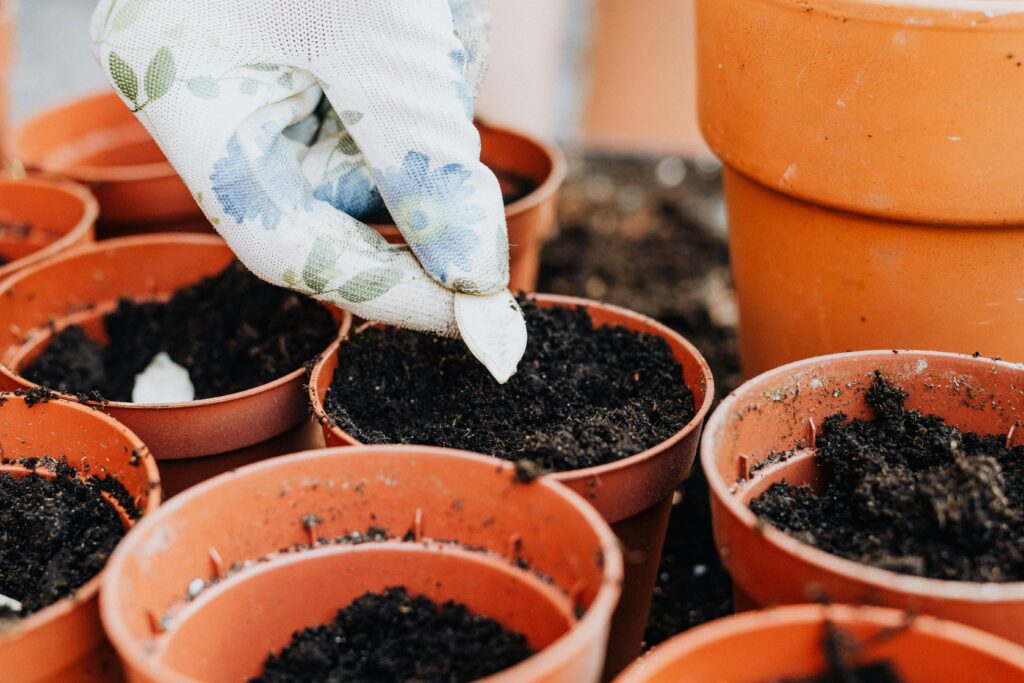
Step 4: Planting the Seeds
Now that your soil is prepared and your seeds are soaked, it’s time to plant. Planting Moringa seeds is a simple process, but doing it thoughtfully improves your success rate.
- Depth: Plant each seed about 1 inch (2.5 cm) deep. Don’t plant them too deep, or they may struggle to push through the soil. Just enough to lightly cover them is sufficient.
- Spacing: If you’re planting in the ground, give each seed at least 1–2 feet of space from the next one. Moringa plants grow quickly and need room for their roots and branches to expand.
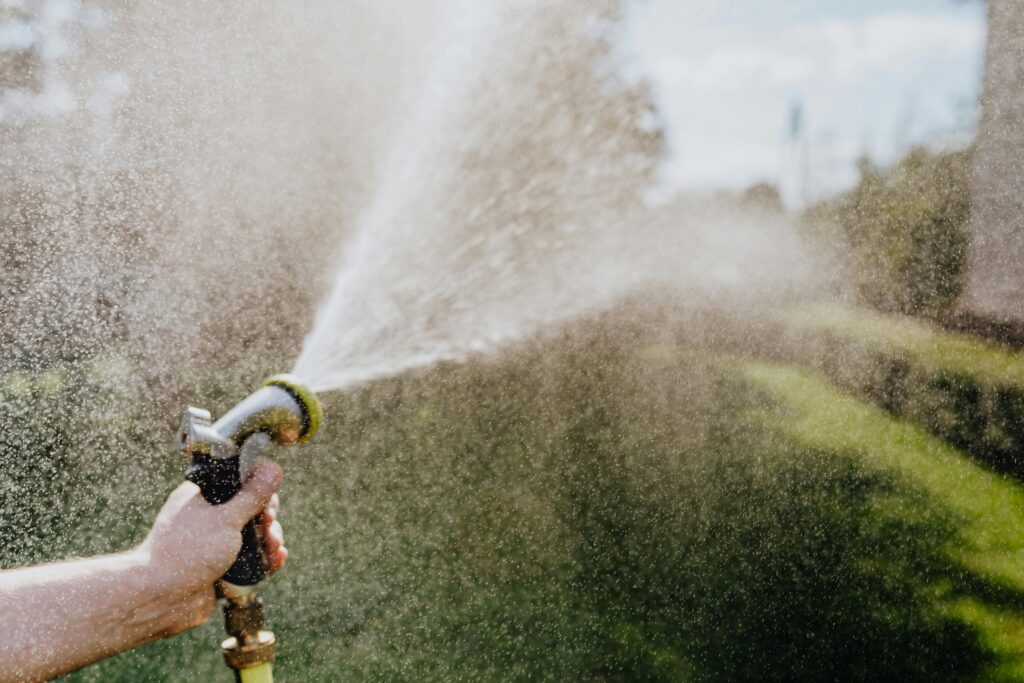
- Watering: After planting, water the soil gently to settle it around the seeds. The soil should feel moist but never soggy. Continue watering lightly every day or every other day depending on your climate.
Extra Tip: In particularly hot climates, consider covering the planted area with a light layer of straw or dried leaves to retain moisture during germination. This helps keep the topsoil from drying out too quickly.
If you’re planting in pots, follow the same depth and spacing guidelines, but make sure to place the pots in a spot where they won’t be disturbed. Moringa roots are sensitive during germination, and any disturbance could delay or prevent sprouting.
Personal Experience: The first time I planted Moringa seeds, I placed them too deep in heavy soil. Out of five seeds, only one sprouted. The next time, I used well-draining sandy soil and followed the 1-inch depth rule—four out of five seeds sprouted in less than 10 days. This one small correction made a big difference.
You should start to see tiny green shoots break through the soil within 7 to 10 days, especially if your temperatures are consistently above 70°F (21°C). If it takes longer, don’t worry—some seeds take up to 14 days depending on the conditions. Just keep the soil moist and be patient.
Once seedlings emerge, they’ll grow quickly. This is a good time to begin gently rotating your pots (if indoors) or adjusting their light exposure to ensure they grow upright and don’t lean toward the sun.
In my experience, germination usually starts within 7–10 days if the temperature is warm enough (above 70°F or 21°C).
In my experience, germination usually starts within 7–10 days if the temperature is warm enough (above 70°F or 21°C).
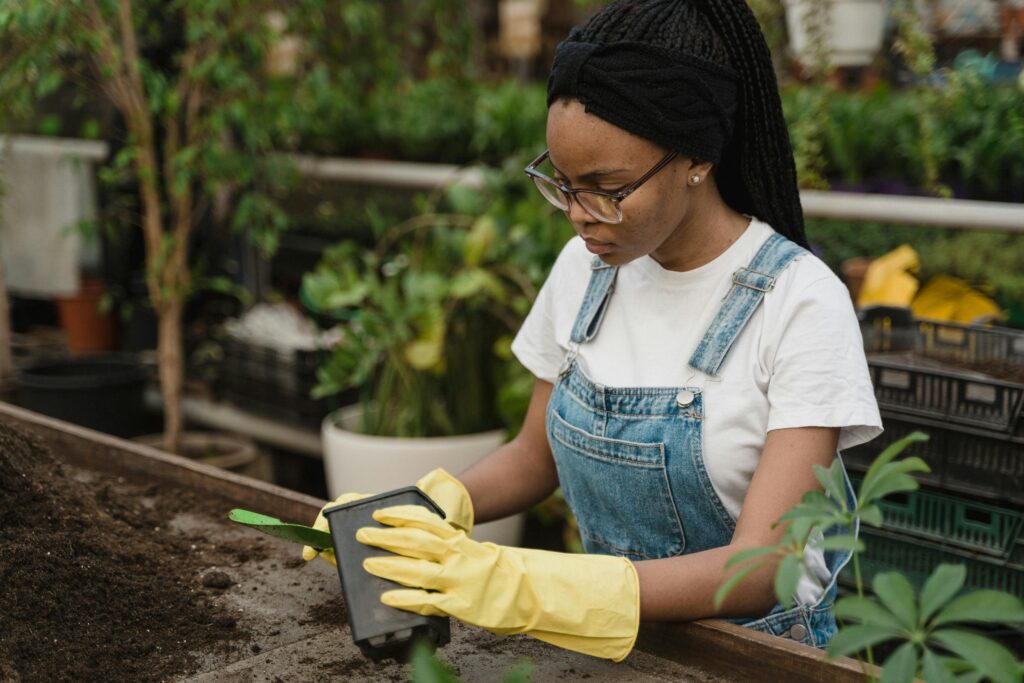
Step 5: Caring for Your Moringa Seedlings
Once the seeds sprout:
- Water regularly but avoid overwatering.
- Remove any weeds around the seedlings.
- As the plant grows, pinch the top to encourage bushier growth.
Expert Tip: Moringa grows fast. Within 2–3 months, you’ll likely see a plant 2–3 feet tall. I’ve seen some reach 6 feet in just a season with the right care.
Real-World Example: Backyard Grower in Karachi
Sara, a beginner gardener from Karachi, decided to grow Moringa as her first real gardening project. Living in a dense urban area with limited green space, she used old paint buckets as containers and placed them on her sunny rooftop. Before planting, she soaked the seeds for 24 hours, prepared a light soil mix using sand, compost, and garden soil, and filled each bucket with it.
She planted five seeds, keeping a gap of about 1.5 feet between each container. The rooftop received consistent sunlight from 9 a.m. to 4 p.m., making it an ideal location for Moringa. She watered lightly every other day and covered the surface with a thin layer of dried leaves to keep the moisture in.
Out of the five seeds, three germinated within seven days. One took a little longer—about 11 days—but eventually sprouted. By the end of the first month, she noticed a strong central stem and vibrant green leaves developing. By the third month, one of the plants had shot up to nearly 4 feet. She pinched the top to encourage bushier growth and began harvesting small amounts of leaves every week.
Today, Sara uses those fresh Moringa leaves in her daily cooking—adding them to soups, lentils, and even as dried powder in her smoothies. What started as a small experiment turned into a reliable, nutritious food source right on her rooftop.
Real-World Example: Container Garden in Houston
David, a software engineer in Houston, started Moringa in large containers on his apartment balcony. He used a mix of coconut coir, perlite, and compost. His first sprouts emerged on day 8. Despite occasional neglect, the plants thrived with weekly watering and full sun. He now dries the leaves for tea.
Step 6: Harvesting Moringa Leaves
You can start harvesting leaves once the plant reaches 3–4 feet in height. Always pluck the mature leaves from the lower parts of the plant to allow new growth.
Dry the harvested leaves in shade and store them in airtight containers for long-term use. You can also use them fresh in smoothies, soups, or as salad toppings.
Common Problems and How to Solve Them
- Slow Germination: Make sure the seeds are fresh and warm. Old seeds or cold weather delay sprouting.
- Yellowing Leaves: Could be due to overwatering or poor drainage.
- Pest Attacks: Though rare, aphids or spider mites can show up. A neem oil spray usually does the trick.
Final Thoughts: Your Moringa Journey Starts Now
Growing Moringa from seeds at home is not only easy but deeply rewarding. With just a bit of care, you’ll have a resilient, fast-growing, and highly nutritious plant that gives back in so many ways. From boosting your health to greening your space, Moringa is a perfect pick for new gardeners.
Remember: Start small, stay consistent, and you’ll be amazed at how quickly your Moringa thrives.
Now that you know how to grow Moringa from seeds at home, there’s no reason to wait. Grab some seeds, find a sunny spot, and begin your miracle tree journey today.